You are reading the archive for the category: Historical Fencing
Filed as Classical Fencing, Destreza (Spanish swordplay), Fencing, Geek Stuff, General, Historical Fencing, Opinion with Comments Off on Challenging the status quo without losing yourself
I have been in the situation where I felt I needed to challenge the conventional wisdom about a sword tradition and there are good ways and bad ways to tackle that problem.
Beware when fighting monsters that you don’t become one yourself.
First:
In my opinion, it is most effective to concentrate on the **work** instead of the **person** in the counterargument. If you have a position there’s a decent chance we want to hear it, hell, we need to hear it if the position has merit.
However, not all positions are good and we have seen plenty of half-baked nonsense in our time. Polish up your argument into its best form, have a friend read it for tone and clarity, and set it out there without assigning intention or motivations to the other researcher or the original author (unless the source definitively tells you, “By this I mean X, Y, Z…”)
Good work can be made better by critical process. I’ve been wrong and errors in my work have been fixed by others. (“There is no such thing as a transversal step backwards.” Oops. Fixed it.) It is not wonderful to be wrong, but I would rather see my stuff fixed than propagate errors.
As an aside, translation is an art. The lovely Dr. Curtis did a presentation on a single passage from Don Quixote and how the translation style changed the outcome of each piece. That’s expected. Multiple translations in different styles is a feature. I think we all want access to the different insights, tone, and flavor that each translator brings to the text. If you want to disagree with a translation it is probably about choices made. You could say, “By making this choice, the emphasis on these keys aspects is missing. Or, “This choice loses this context which I think is essential.” That’s constructive and potentially useful to the neutral observer.
Second:
Take care of yourself first. When you form a critical position, how you do that will make a lasting impression on the people reading your argument. When you use ad hominem attacks, assign nefarious intention, or imply fraud you have gone beyond academic discourse into personal grudges. At that point you’re going to see friends and allies rally to defend the character of the original researcher. Once that starts it can be very difficult, even if you are absolutely correct, to have a productive discussion.
There are ways to challenge existing work without compromising your personal reputation. Sometimes it’s absolutely necessary to do this to foster growth in the community and to correct misconceptions. Maybe that necessary conflict is being driven by you and your work. I’ll be the first to admit that doing this well isn’t easy but if you can thread that needle you’re going to be an asset the community will continue to draw upon going forward.
Consider having a friend read your argument to pull out things with loaded words like “refused”, “obviously”, “clearly”, “ignores”, “deluded”, “recklessly”, and so on. What I want as a reader is the core of your argument presented in its best form. I can make decisions about the personal motivations on my own.
For example,
- I think there is real value in considering this alternative which I think better reflects X,Y,Z…
- By considering how the images were chosen we can gain insight into X,Y,Z…
- I think this is an error based on this <citation>. Based on that consider this alternative which allows us to…
Each of those methods helps the reader understand there is potential value in at least considering your position. By buttressing the argument with citations and avoiding loaded language you open up some space in the dialogue and you preserve and protect yourself by avoiding self-inflicted wounds.
Third:
Don’t be an authority and instead be a resource. I’ve seen multiple examples of individuals trying to be an authority (Maestro-cop to the universe) and their work collapses underneath them as their attempt to assert authority is outpaced by the increased knowledge of the growing community. Having had the benefit of watching these implosions I made a commitment to myself not to walk down the same road.
By refusing to own the tradition but rather trying to build and restore it, I permit myself the necessary space to be wrong and correct the work as I gather new evidence.
Finally:
If you have done enough research to disagree with an established interpretation, you have value whether you are right or wrong. By encouraging you to argue well, I hope to preserve your place in the community for my own selfish reasons. Critical feedback and challenging of existing work is essential to what we do. I hope you’ve got something useful and can present your work effectively.
Filed as Classical Fencing, Destreza (Spanish swordplay), Fencing, Geek Stuff, General, Historical Fencing with Comments Off on Building a Flail Trainer
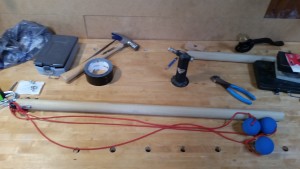
This is how we built a two-handed 3-headed flail trainer with parts you can find at your local hardware and sports store. The method described here isn’t the only way to build a flail and the training weapon here is experimental. If you build it there is every chance you could injure yourself with it if you get as crazy as my brother might. So… I warned you.
The parts list:
- 6-foot closet pole (1.8 meters)
- 2 matching screw-mounted rope hooks
- 2 bolts with matching nuts
- Nylon paracord
- Duct tape (of course)
- 3 racket balls
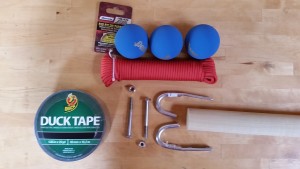
Flail parts laid out
The Measurements
Our flail has a 3-foot handle and three approximately 3-foot “chains” including the heads.
Instructions
1. Cut the closet pole down to size. (For our first flail we tried a length of 3 feet (0.9 meters). It worked fine but we’re thinking of making the next handle slightly shorter by about 4 inches for a total haft length of 32 inches (0.8 meters).)
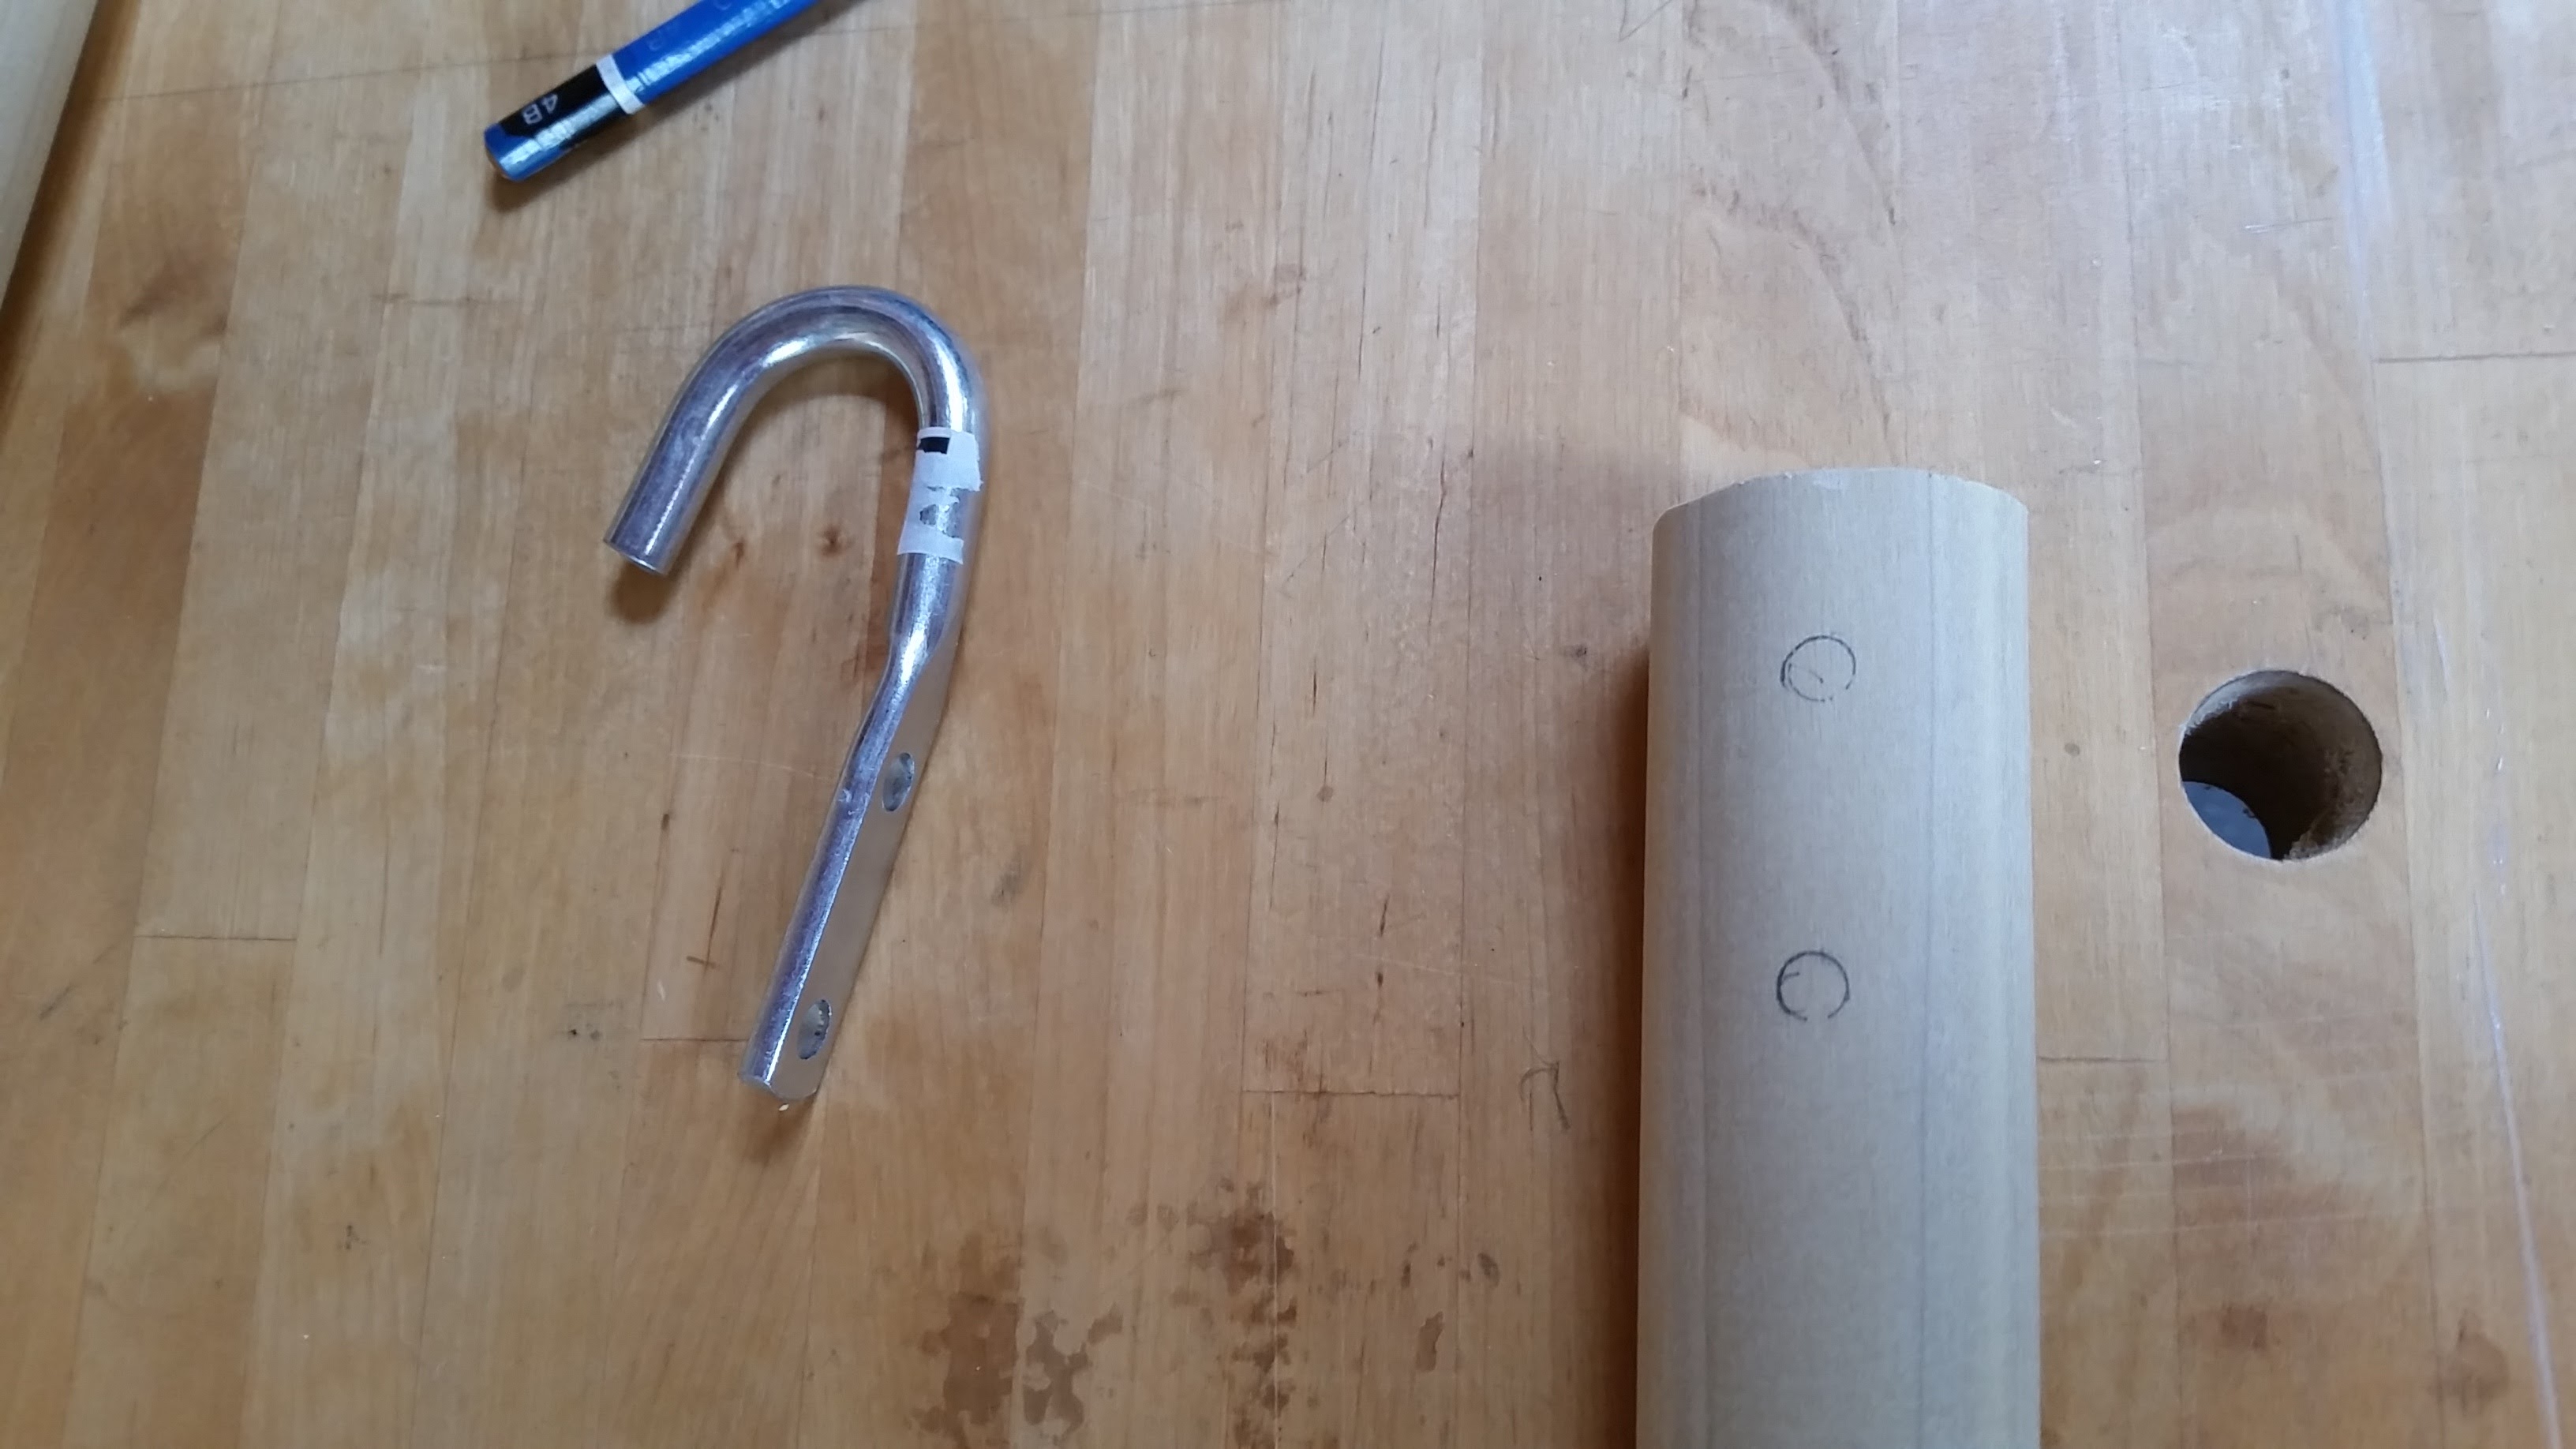
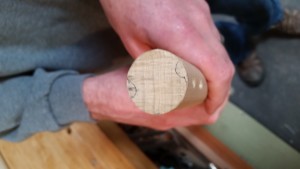
2. Use the rope hook as a guide for marking your drill target. We chose to bring the hook as far down into the pole as possible to increase the strength of the trainer.

Use the Rope Hook as your Stencil for your Drill Guide

Marked and Ready for Drilling
3. Slowly drill all the way through the pole and remove any frayed edges.
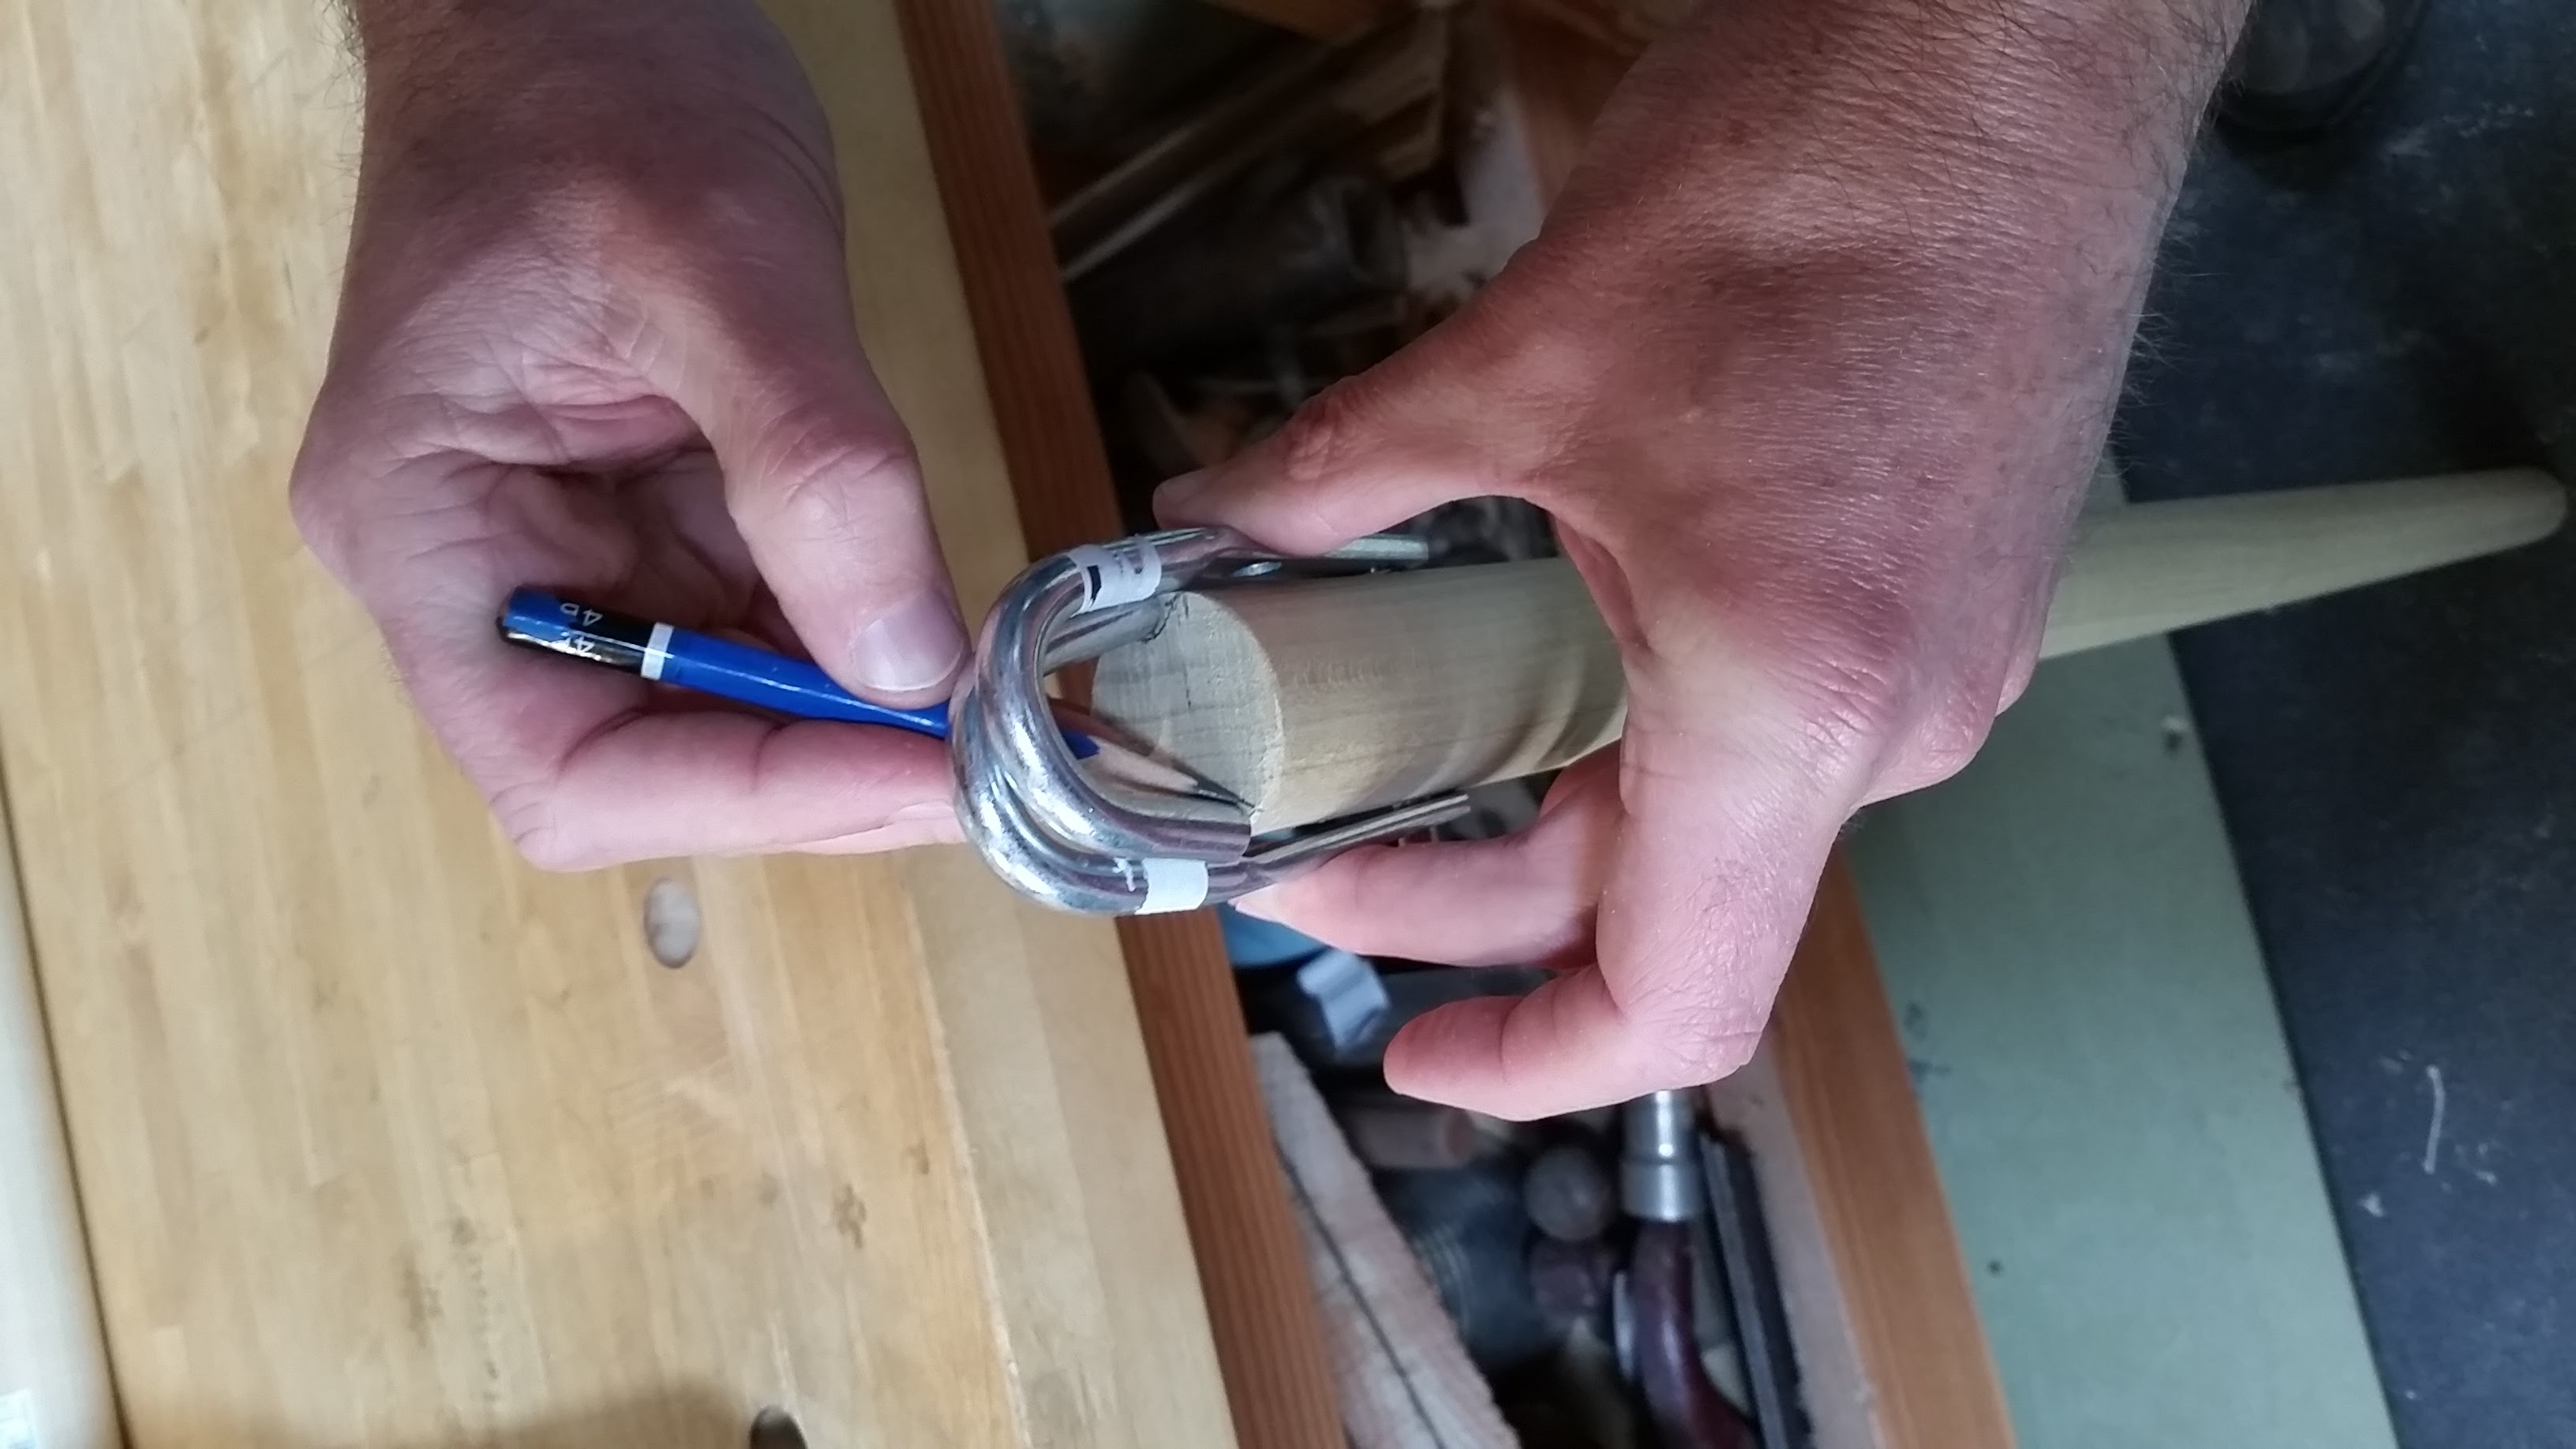
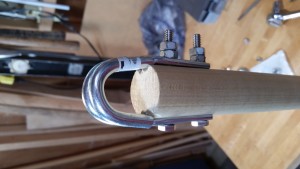
4. Align the two Rope Hooks facing each other to form the “chain’s” looping anchor point on the flail. At this point you may want to remove some stock from the pole to ensure a snug fit by marking the end of the shaft and using a round file to remove the extra.

Marking the Head of the Flail to Remove Extra Stock
We will file that out
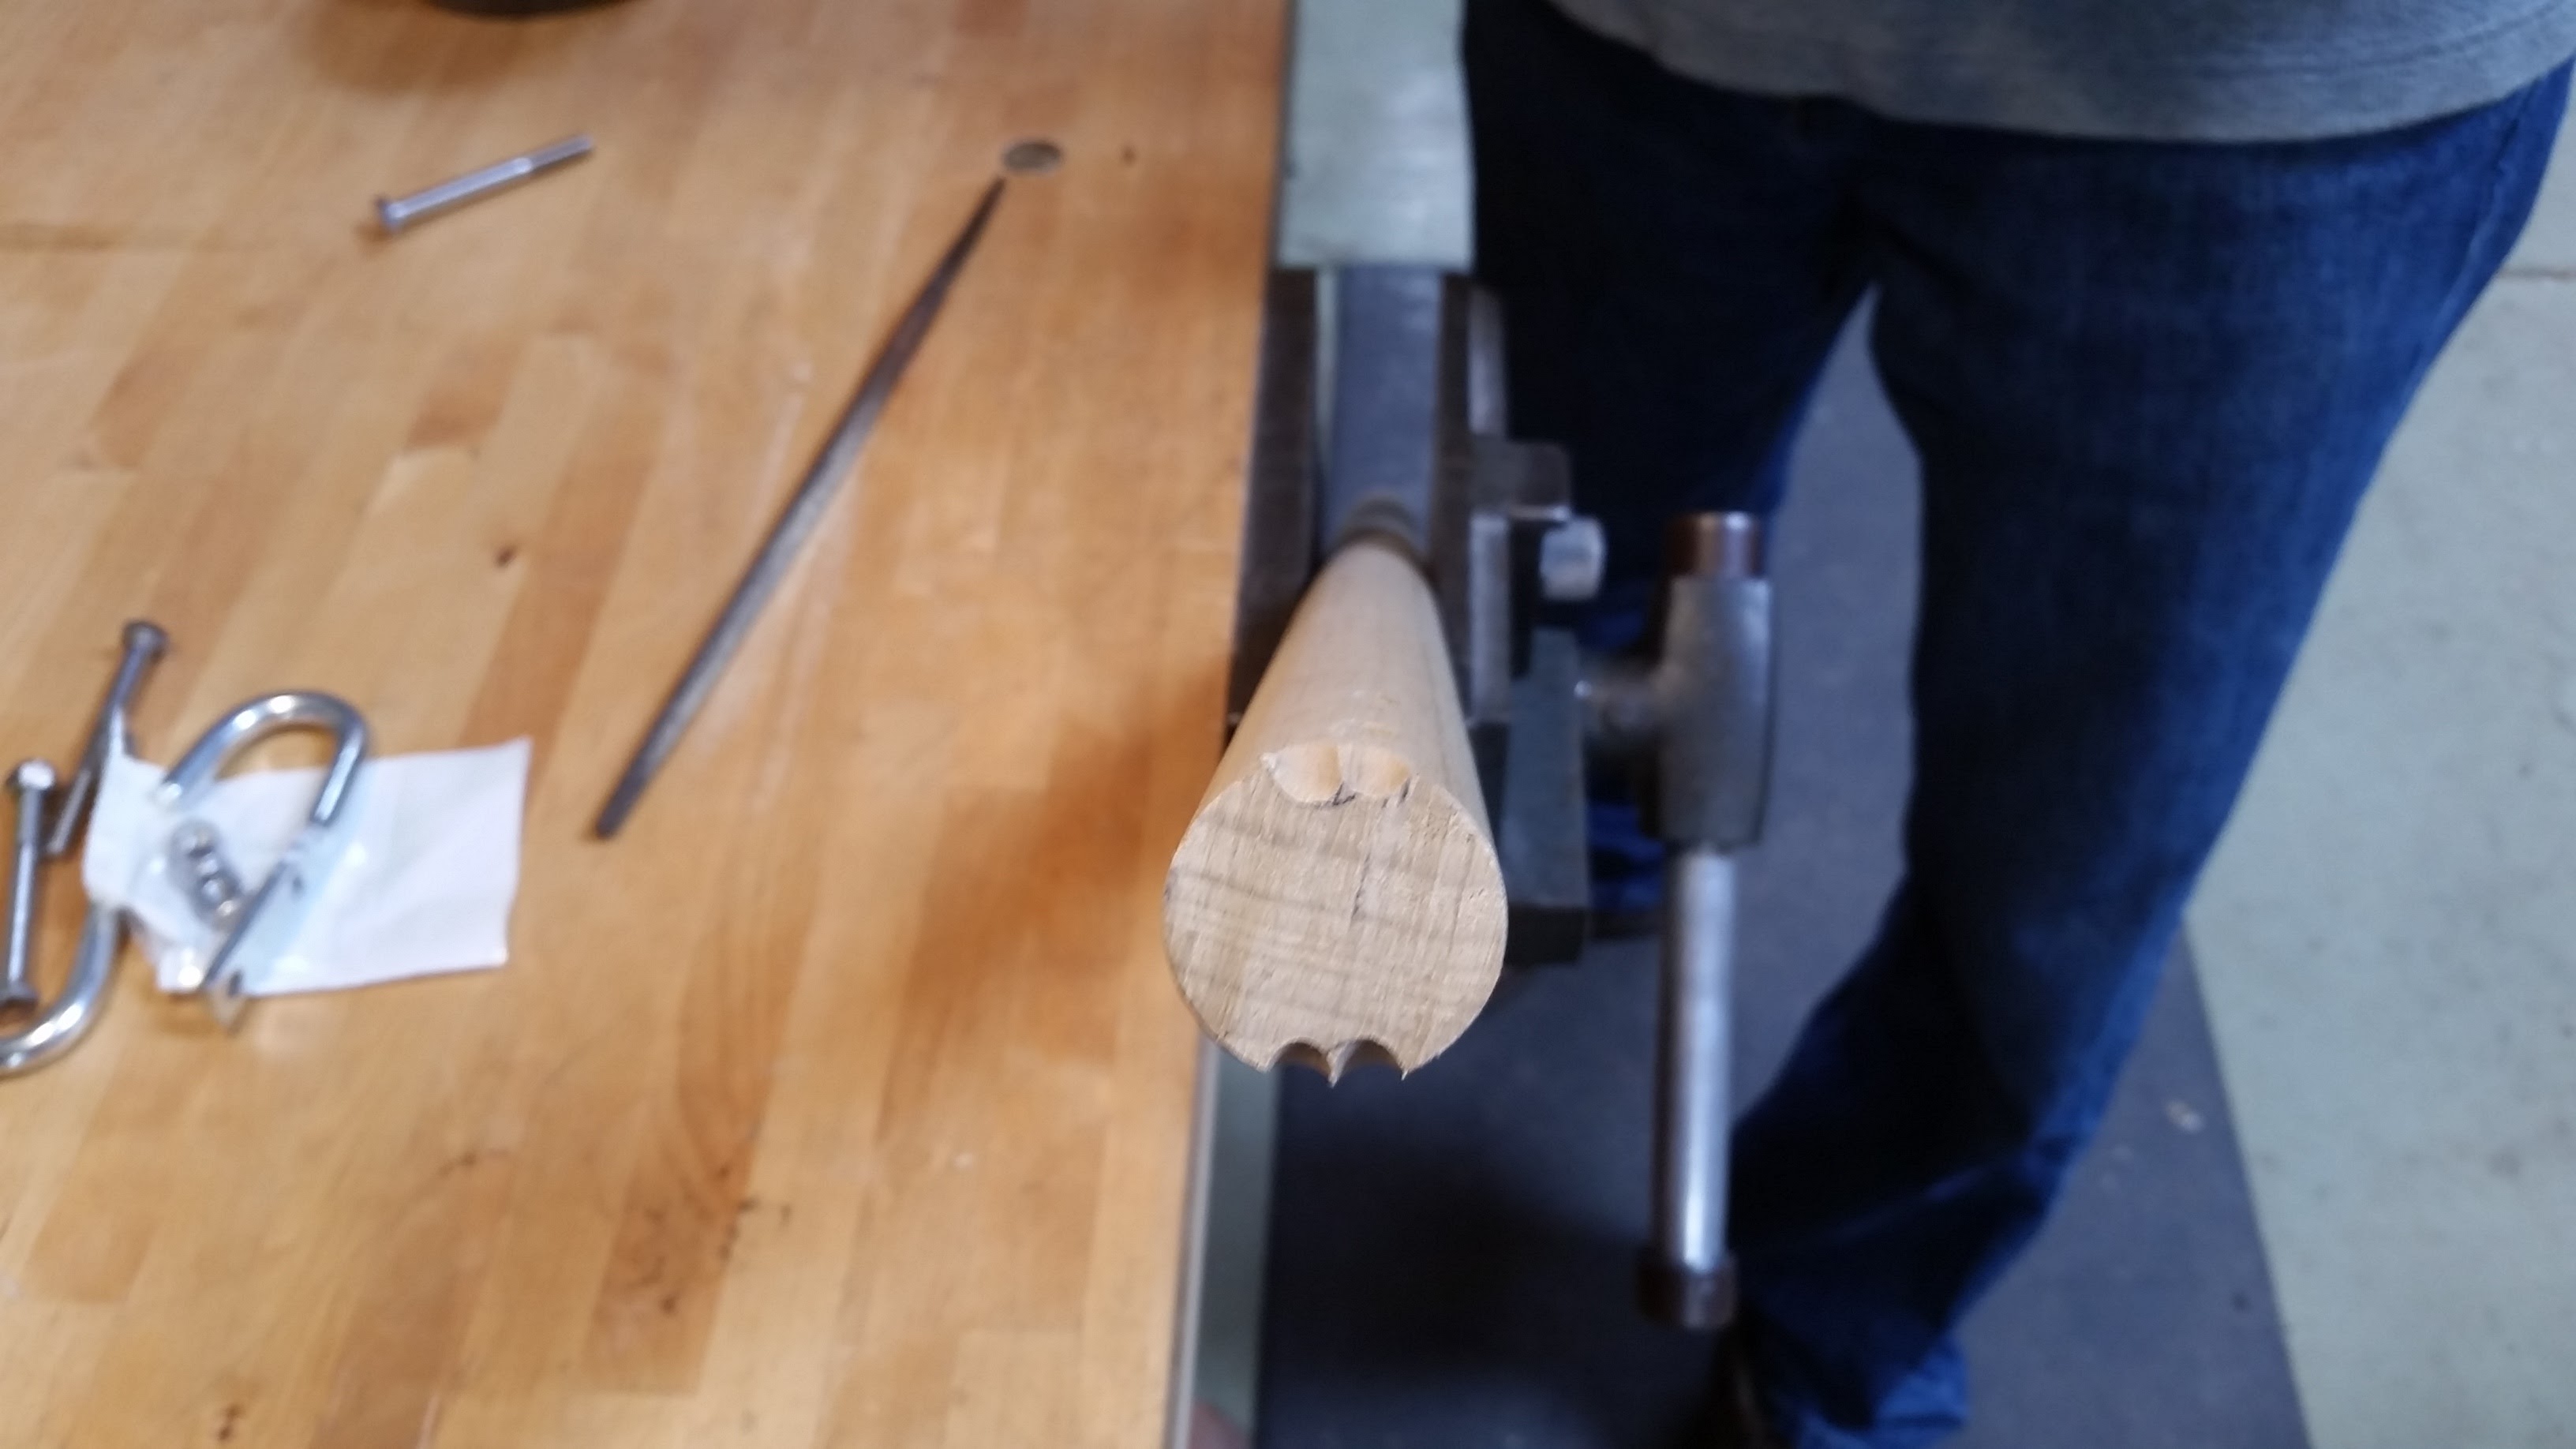
Filing out the Extra. (It’s easier if you use a vise.)

Stock Removed. Also, now it looks like the Bat symbol. (Batman would be proud to train with us.)
4. Now that you’ve created a perfect fit, fasten both Rope Hooks onto the shaft with the bolts so that they face each other to form a looping “chain” anchor point.
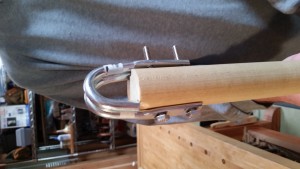
Two Rope Hooks makes a good loop.
Fastened Down Tight.
5. At this point you have created something dangerous with the exposed metal bolts. I recommend using a hacksaw to cut the exposed bolts off and then cover anything with sharp edges with a layer or two of tape. You want to minimize the possibility of cutting yourself if you accidentally hit yourself in the head.
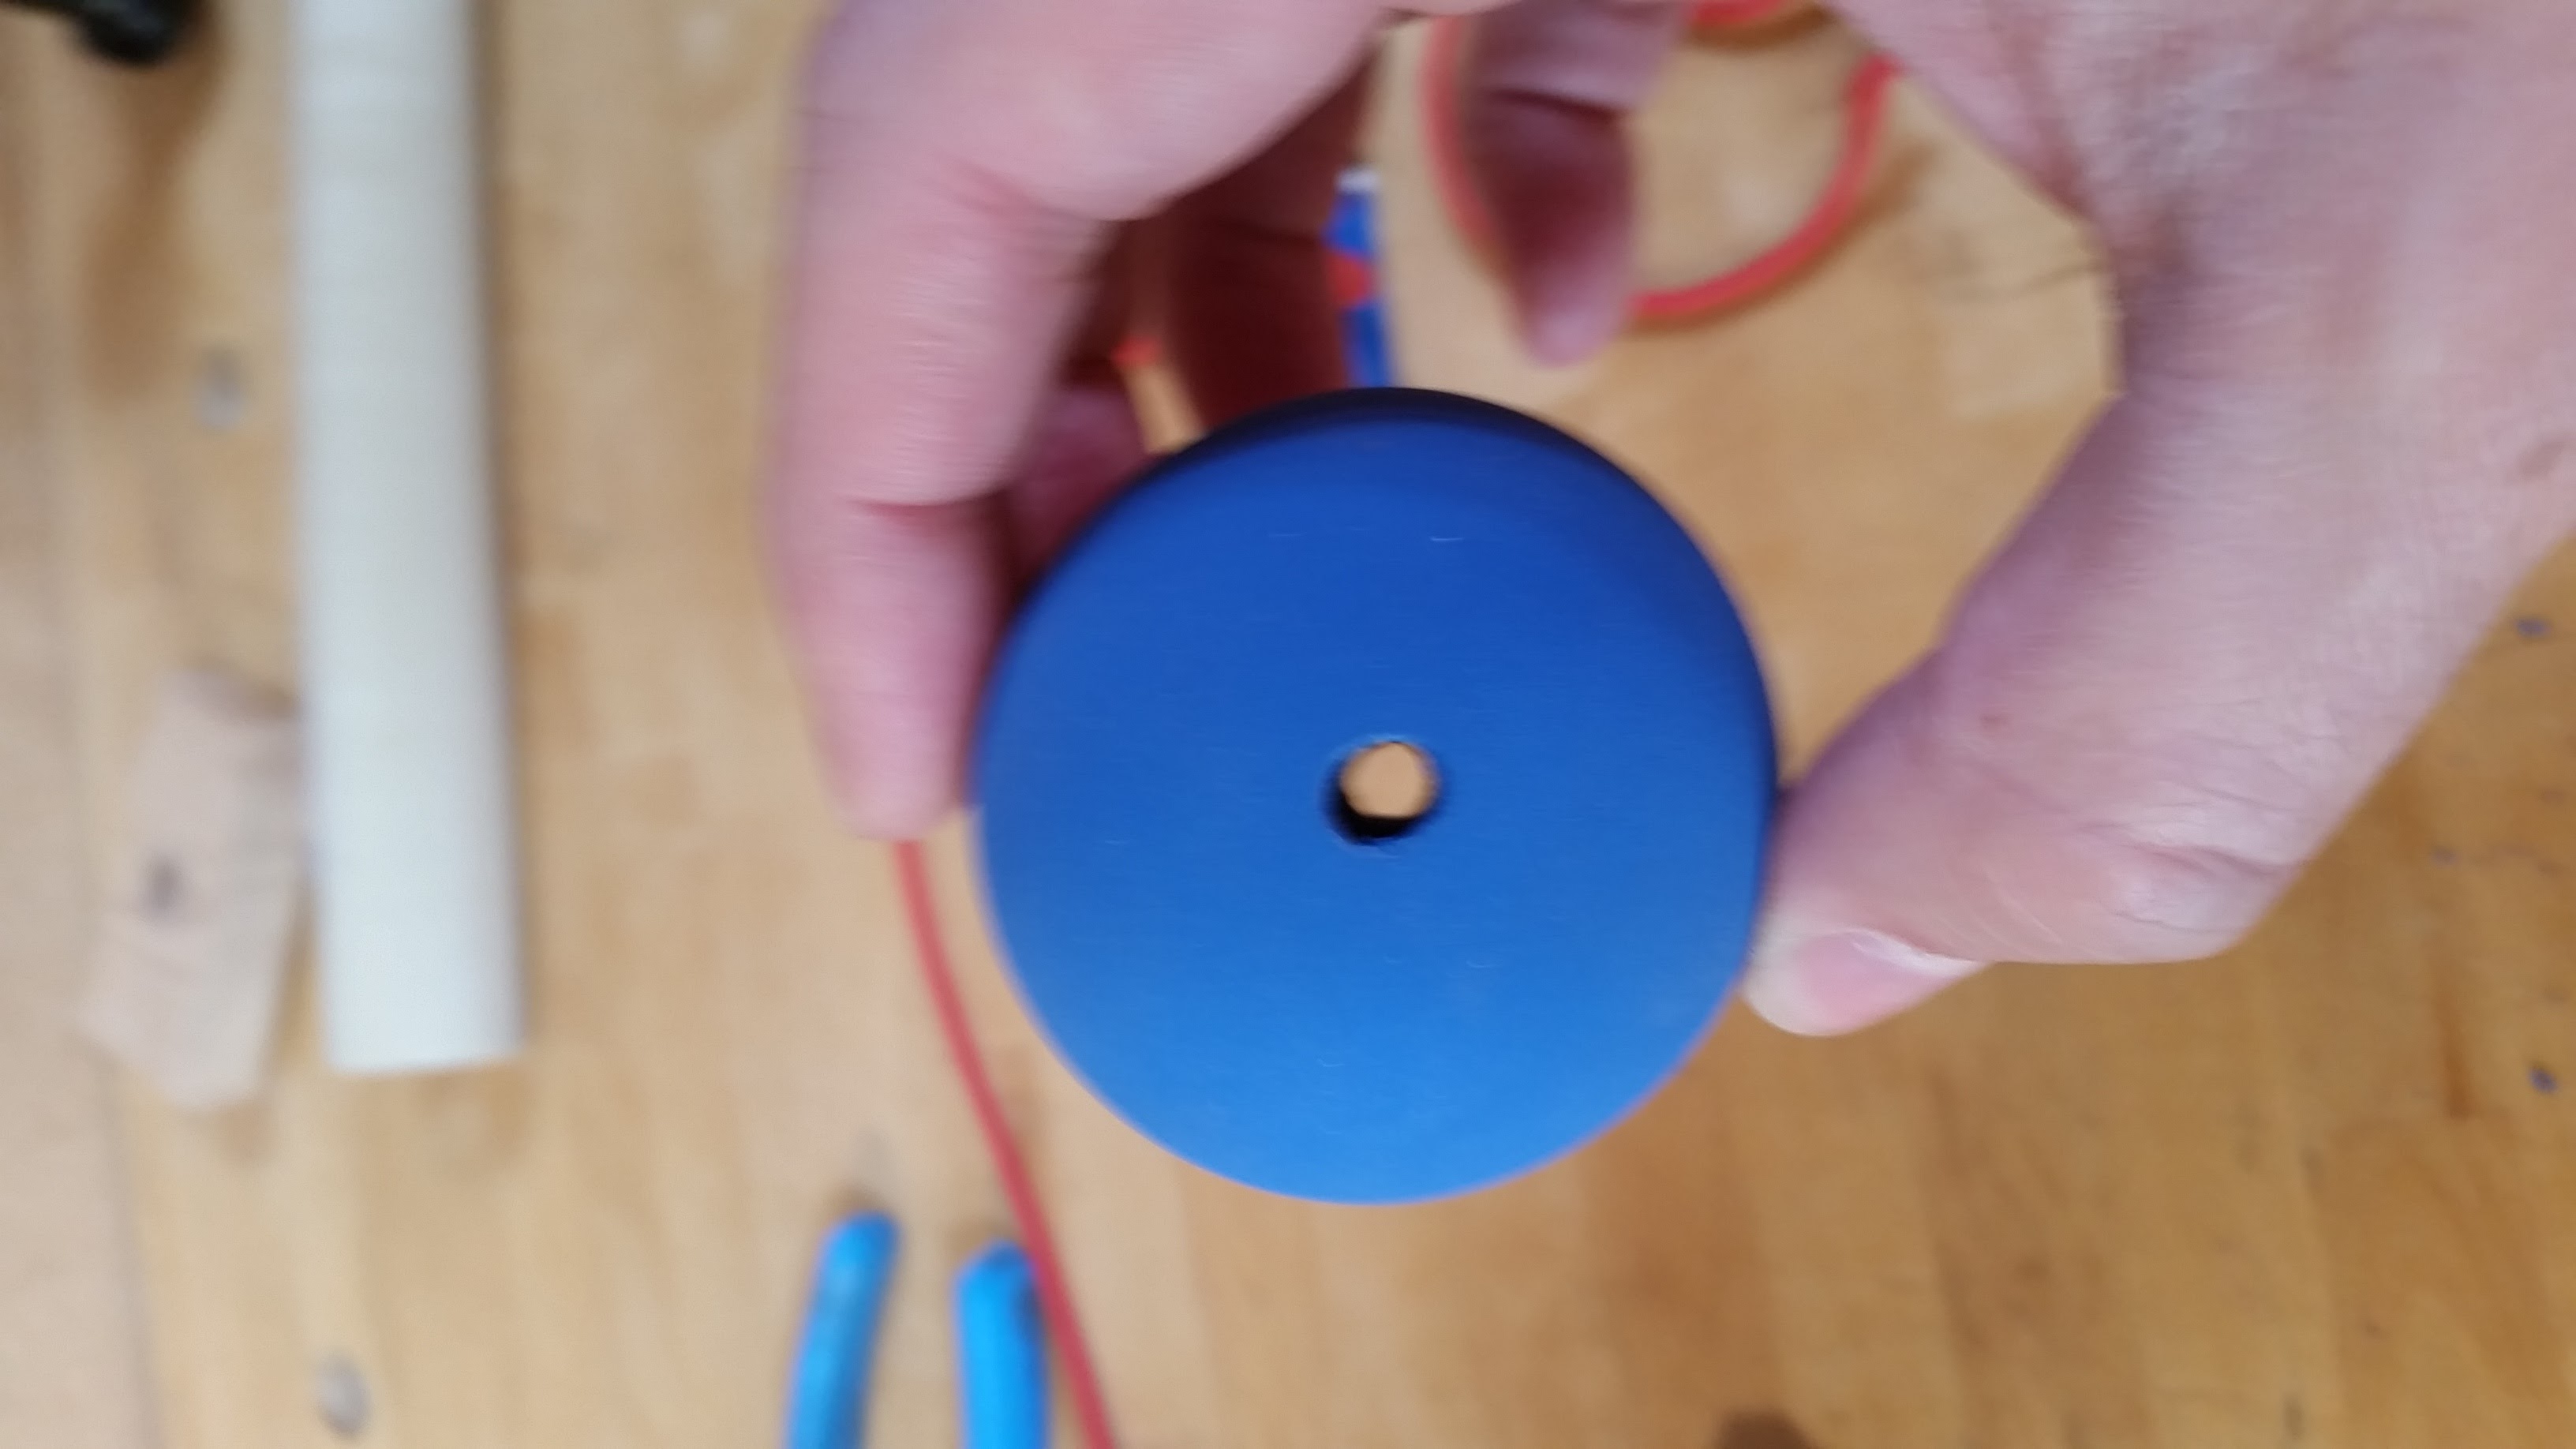
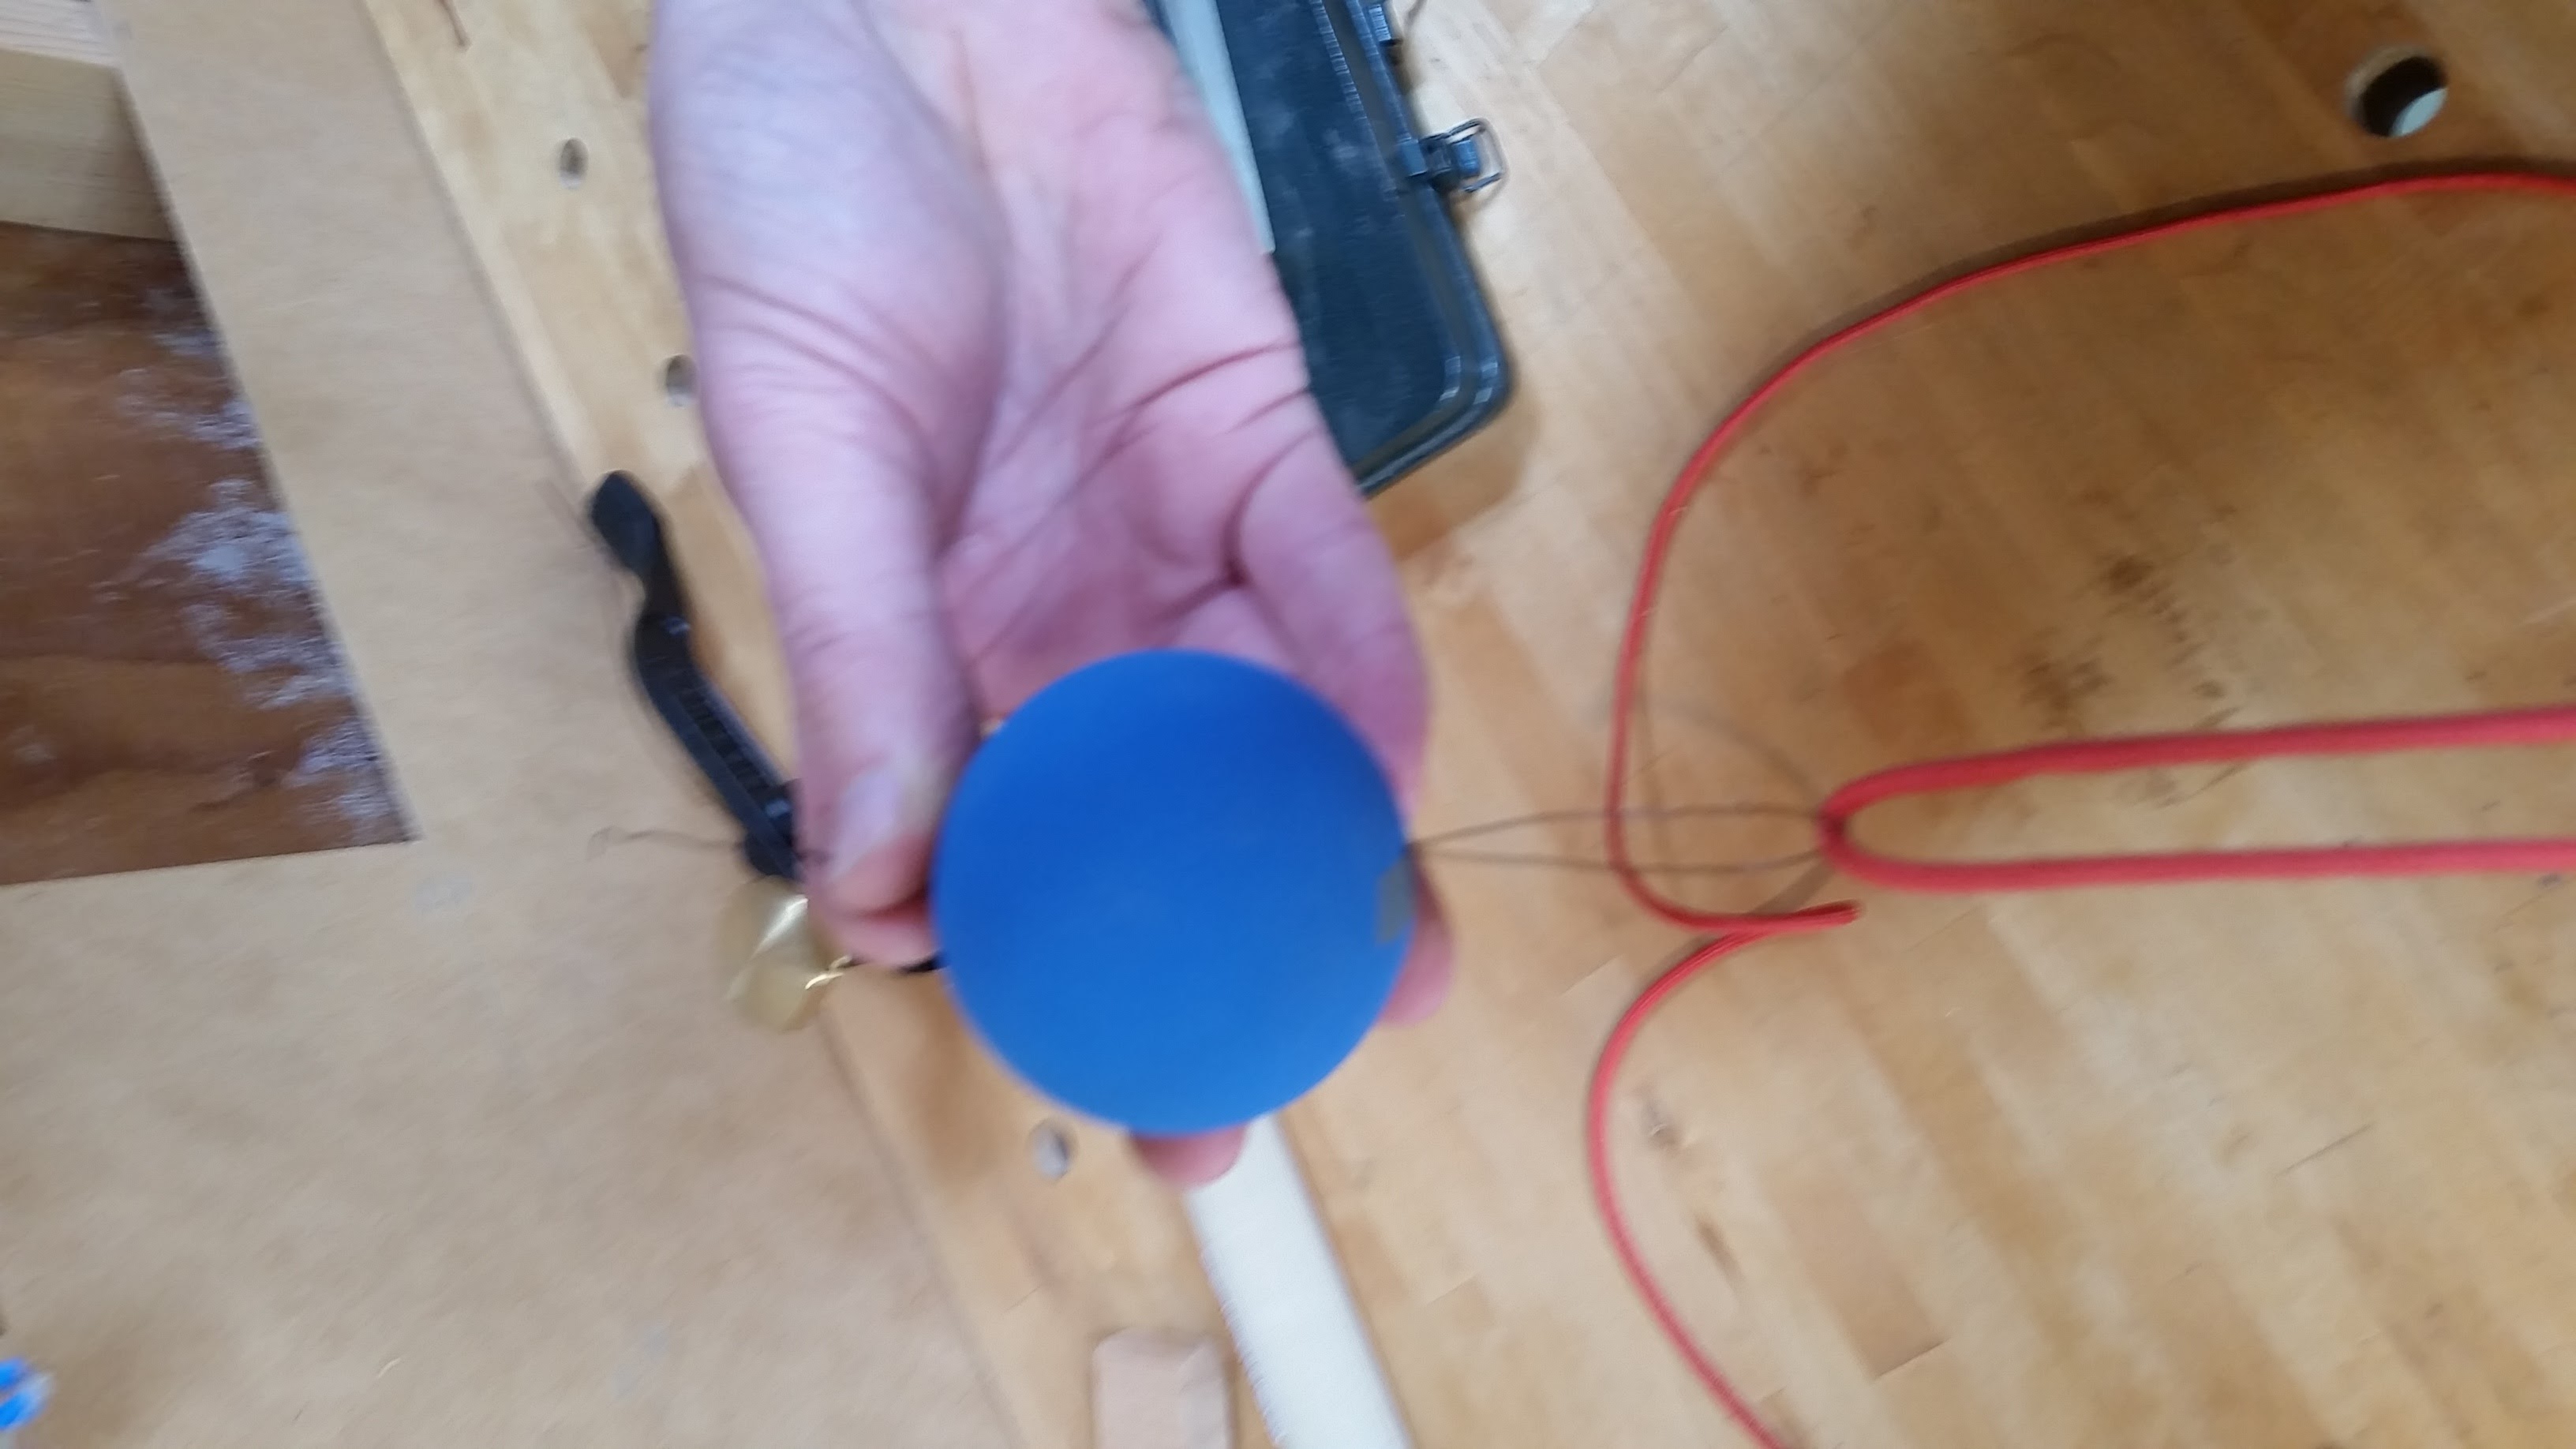
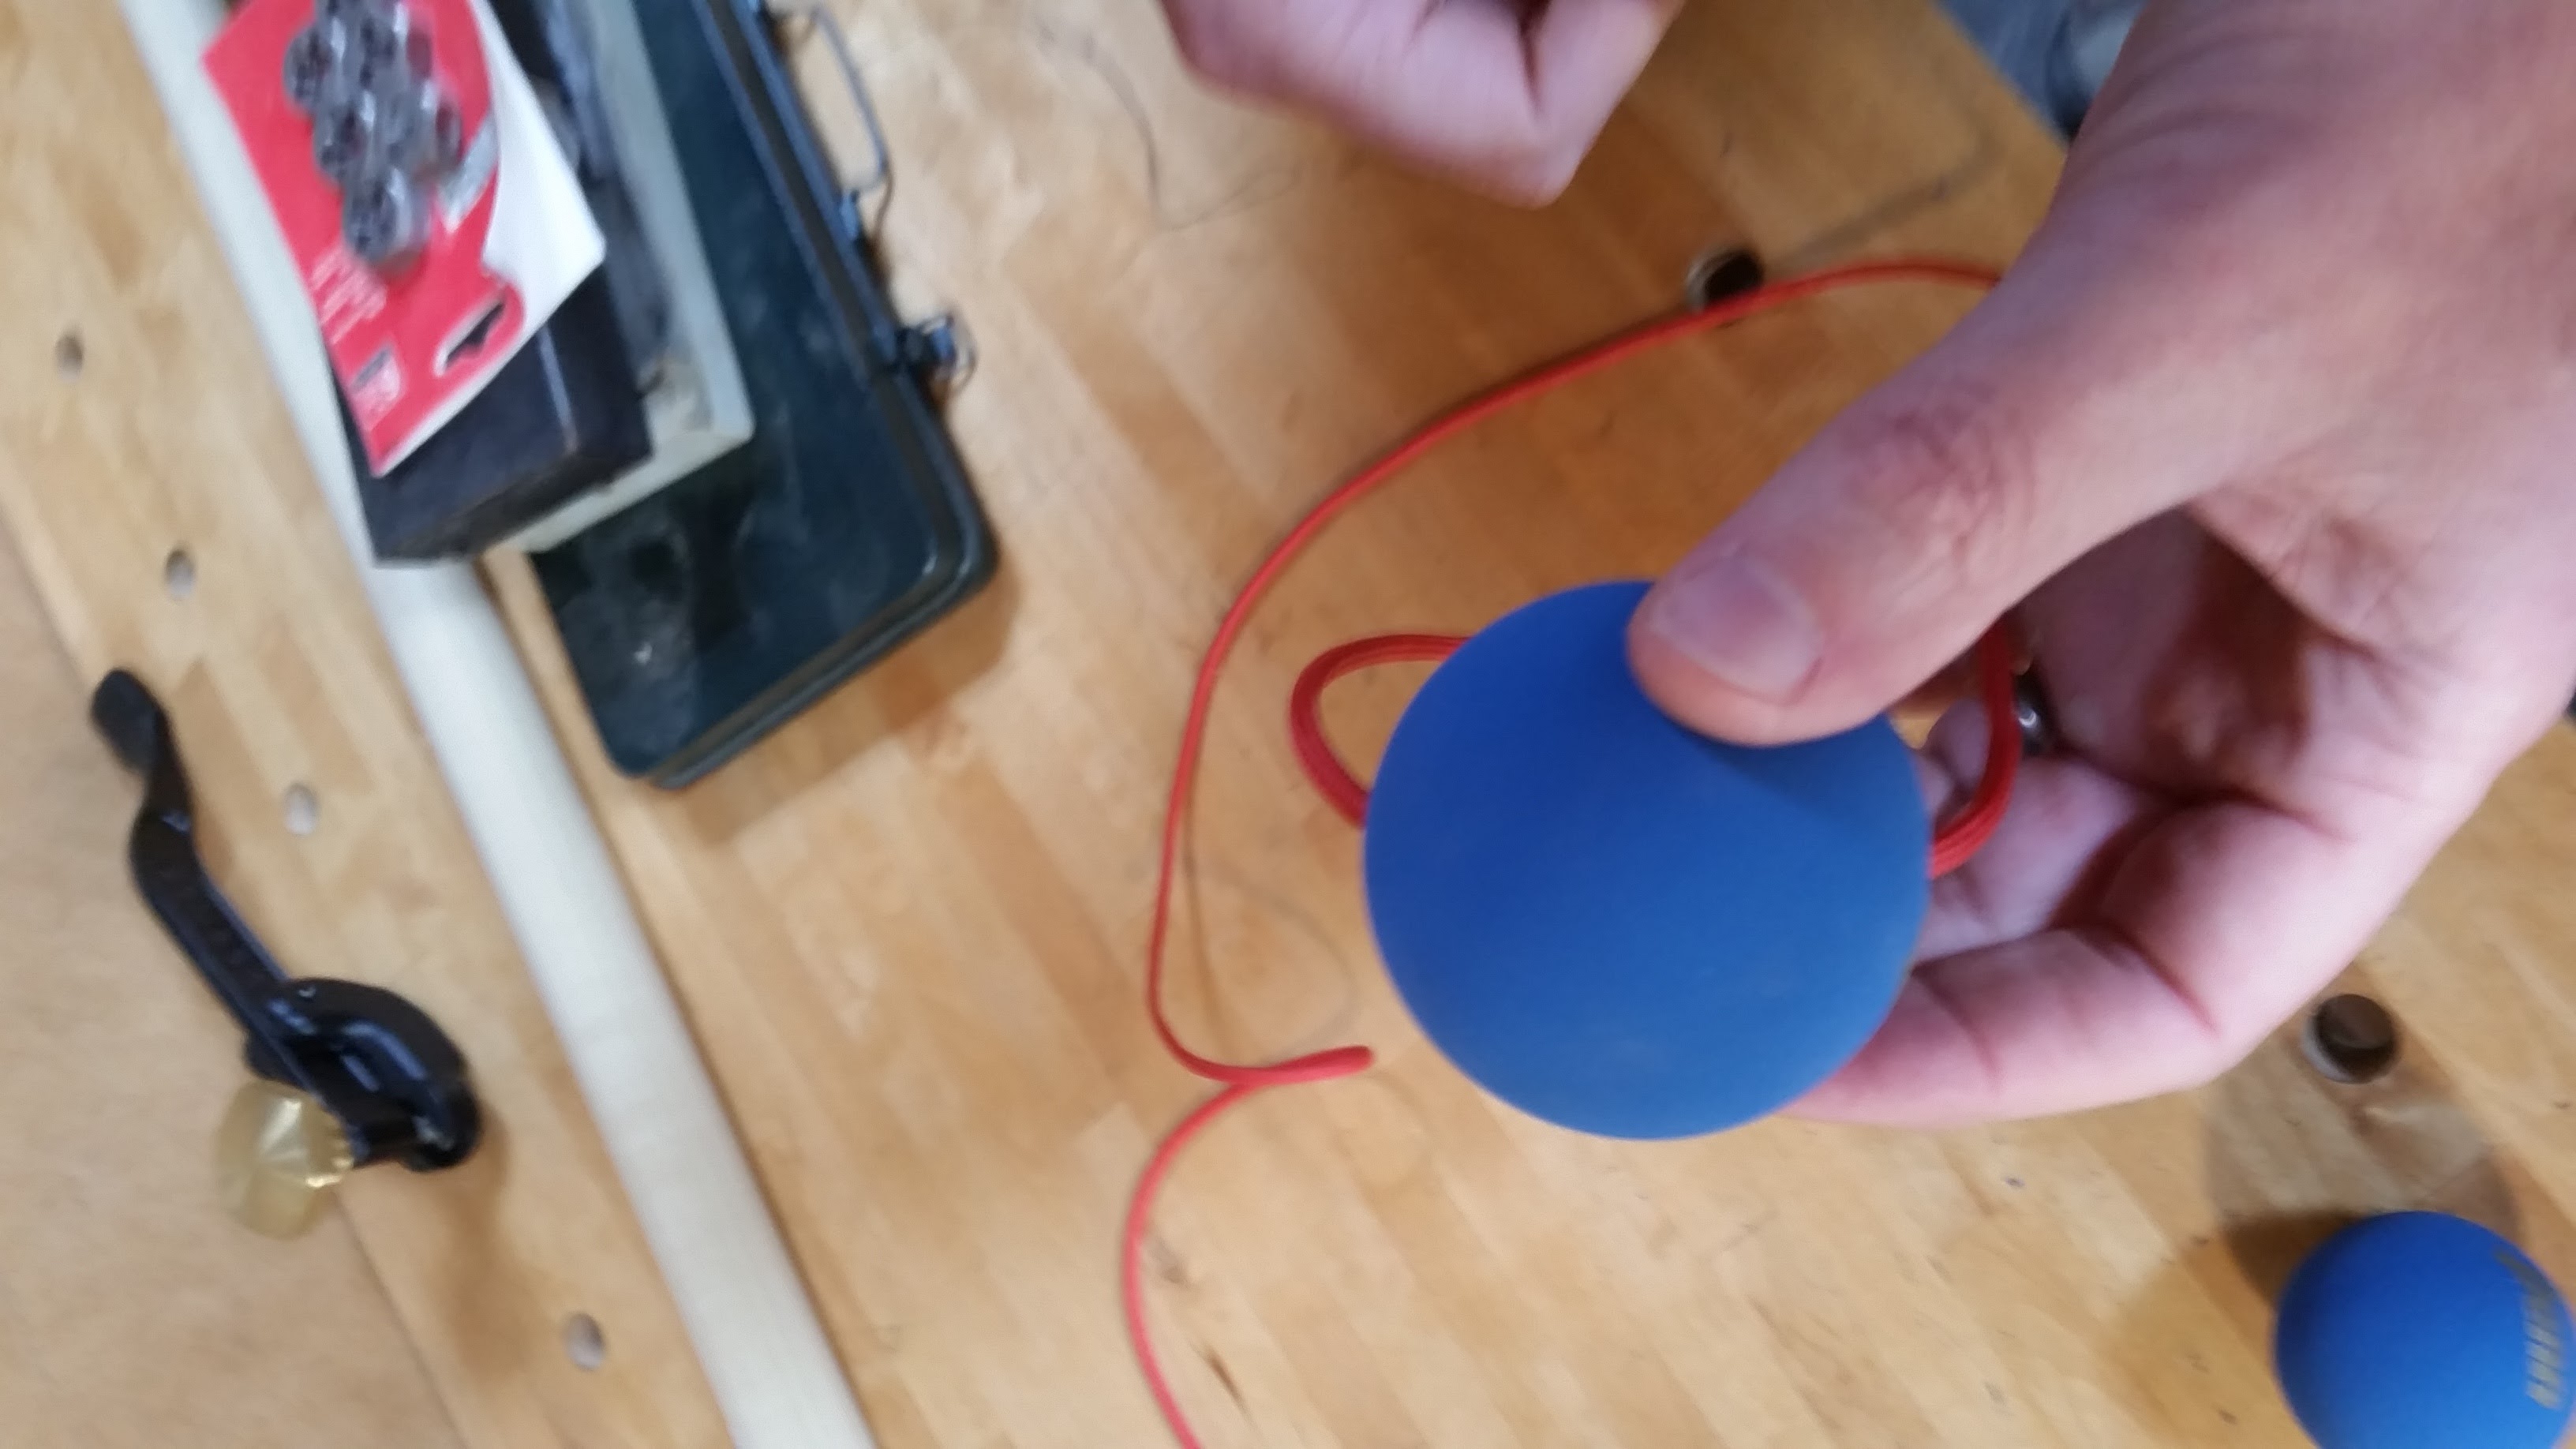
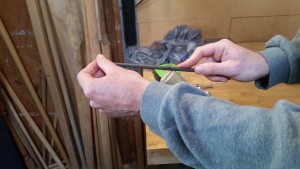
6. Next, drill a hole through each of three racket balls.

Yep… That’s a hole clean through a racket ball.
7. Run your nylon paracord through the hole. To do this, we used fishing line.

Push a loop of fishing line through the holes and then insert your paracord into the loop on the far side. Pull it through and, “Tada!” it is threaded.

Success!
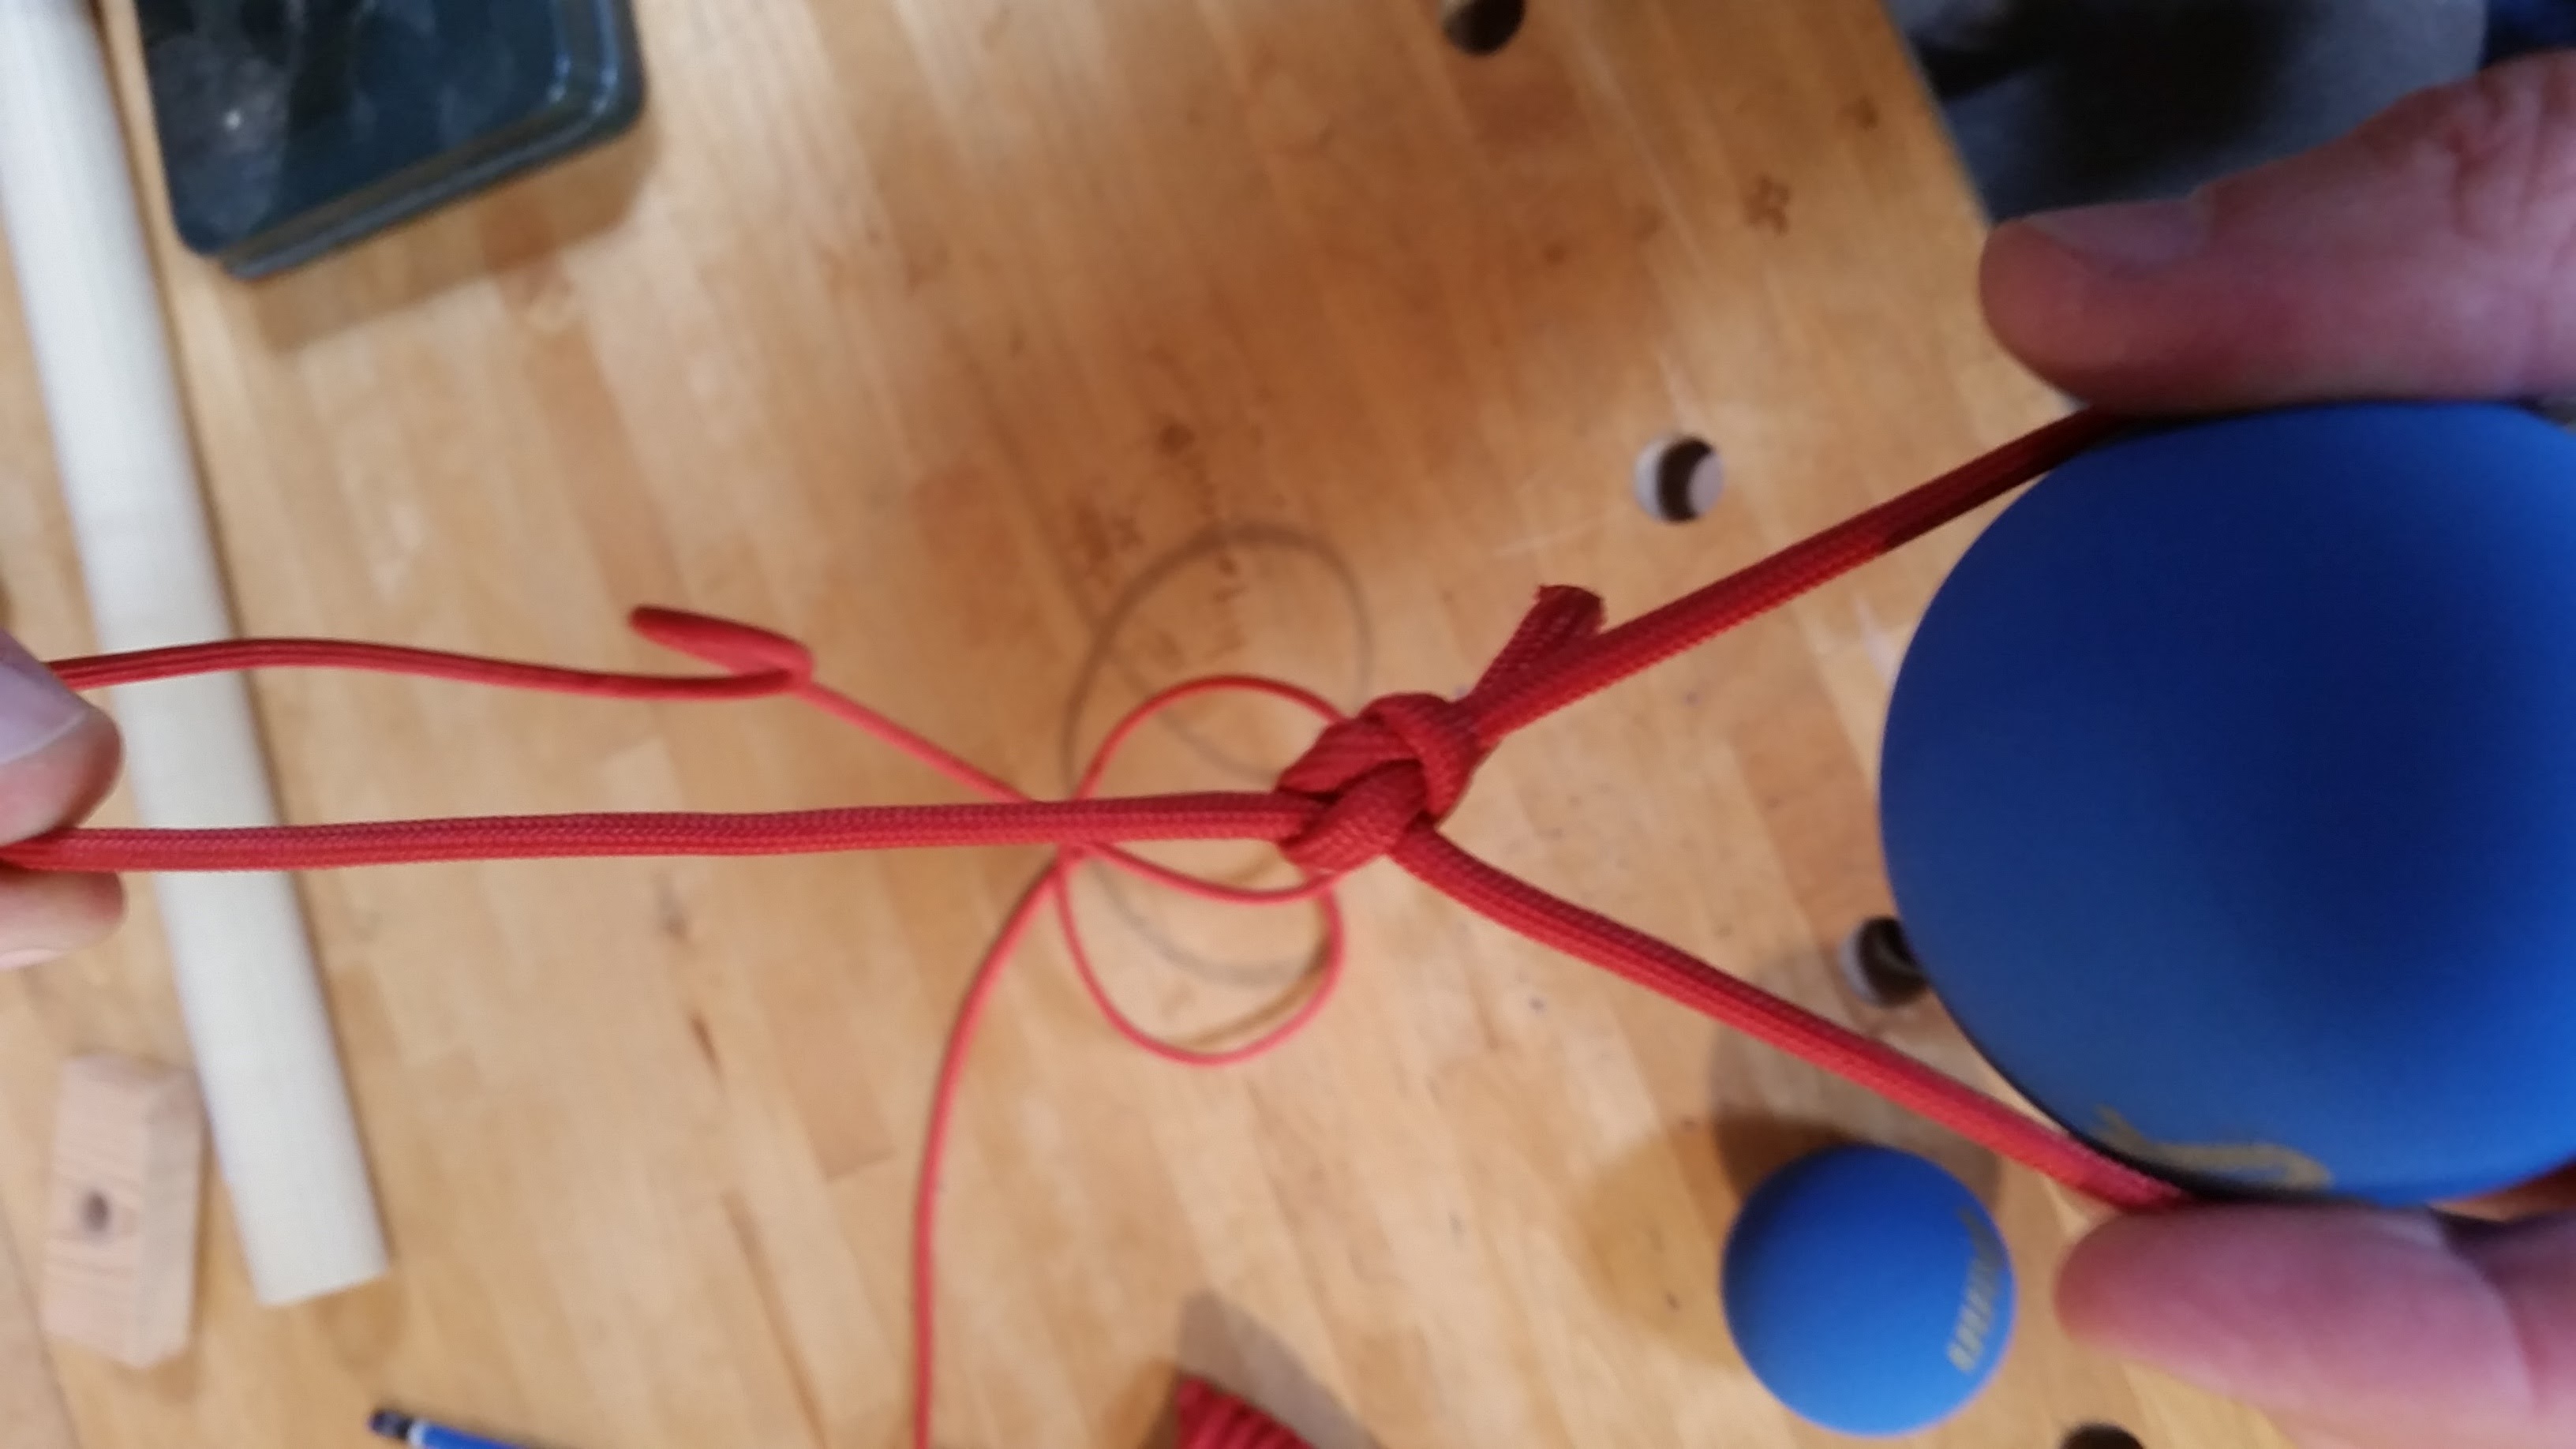
8. Tie the cord just underneath the flail head using a bowline knot. ( Click here to see how to tie this knot! )

Tie it with a bowline knot.
9. Tie it to the anchor point using the same bowline knot. (Repeat the process for all three flail heads.)
10. We used duct tape on the edges of the Rope Hook to avoid any grab on the nylon rope “chains”.
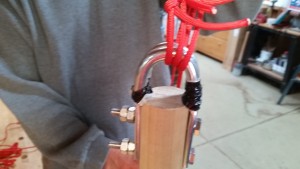
It doesn’t have to be beautiful.
The Completed Flail Trainer
Congratulations… you have given birth to a baby flail with a 3-foot shaft and 3-foot chains.
This is much lighter than an actual flail when you swing it around but you still get a scary amount of force with it such that hitting people is probably a terrible idea. While exercising the flail we found that swinging it at high speed didn’t seem to cause any problems with the racket balls but striking solid targets caused cracks around the drilled holes which would be eventual failure points.
Still, not bad for flail 1.0.
Filed as Destreza (Spanish swordplay), Fencing, General, Historical Fencing with no replies
“Montante, Montante, how will I learn to understand?”
Montante says, “Walk a mile of the rules with me in your hands.”
“Montante, Montante, how will I learn still more?”
Montante says, “When you’ve done a single mile then walk another four.”
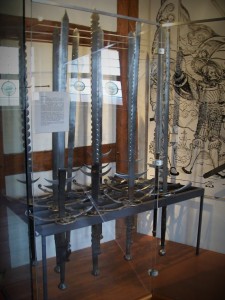
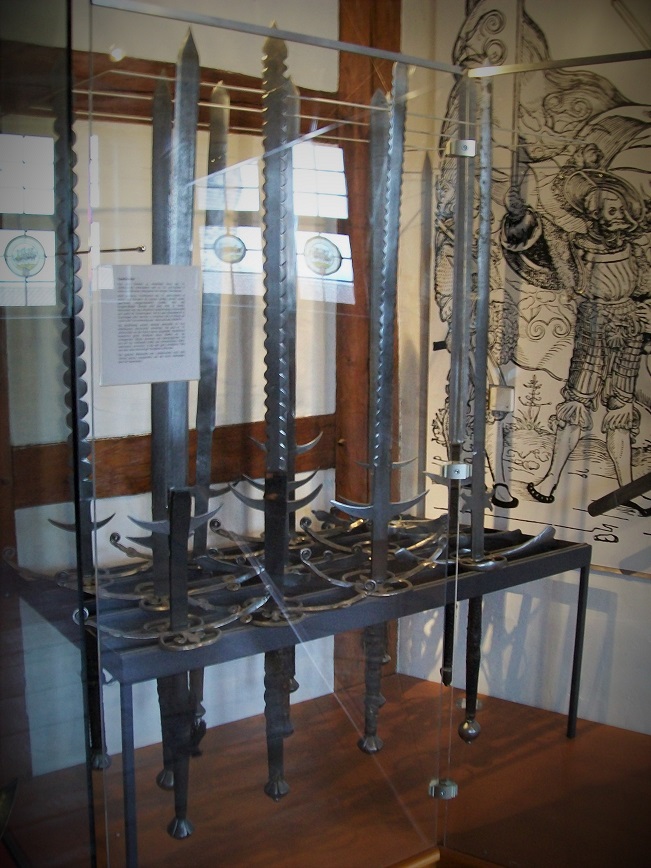
A Collection of Greatswords
The Montante Mile: Martial Challenge
There is an aphorism that states, “You do not know another person until you have walked a mile in his shoes” and in this case we want to know the montante in the same way. There will be no partner or adversary. There will be no one keeping score or time. There will be you, your weapon, and one mile of work to be done.
The goal of this martial challenge is to gain personal knowledge of the forms and the usage of the weapon beyond merely an academic level. It is our hope that at some point during the challenge you and the weapon will find common cause and greater understanding through physical action as a form of learning and meditation.
The organizers will lay out a measured course and be available to teach a few simple traditional montante forms that will allow the challenger to move forward along the course. After that it’s merely a matter of the challenger using a few forms to travel a mile in laps on the course. You can use traditional forms, you can alter or combine forms, or you can use techniques from another tradition entirely. The challenge is in the doing.
The course will have lengths measured at 60 feet. You will pass a mile with 90 lengths and complete the challenge. If you break your challenge out into 3 days then 30 lengths per day will accomplish the goal. If you cannot reach the full mile you could aim for the Montante Medio at 45 lengths.
What happens when your conscious mind relaxes and you can listen to what the Montante is telling you? Perhaps you will find out in the Montante Mile.
Filed as Destreza (Spanish swordplay), Fencing, General, Historical Fencing with no replies
You need to know 14 actions for the system of single-handed swordplay described by the Destreza authors.
These fourteen actions are:
Defenses
- The Advantage of the Right Angle – The sword arm is extended forward at a right angle with the body such that the point menaces the adversary along a straight line. The arm should be extended but not locked. The defensive threat may be passive or it may be used actively to generate obedient motion from the adversary.
- Atajo – Subjection of the opposing steel from above with equal or greater degrees of strength in the engagement such that the adversary cannot strike you in a single movement. Neither the body nor the sword should participate in extremes. You will create a cross of the weapons by raising the point and lowering the hilt to intersect and capture the opposing weapon.
- Movement of Conclusion – The act of seizing the opponent’s hilt with your left hand.

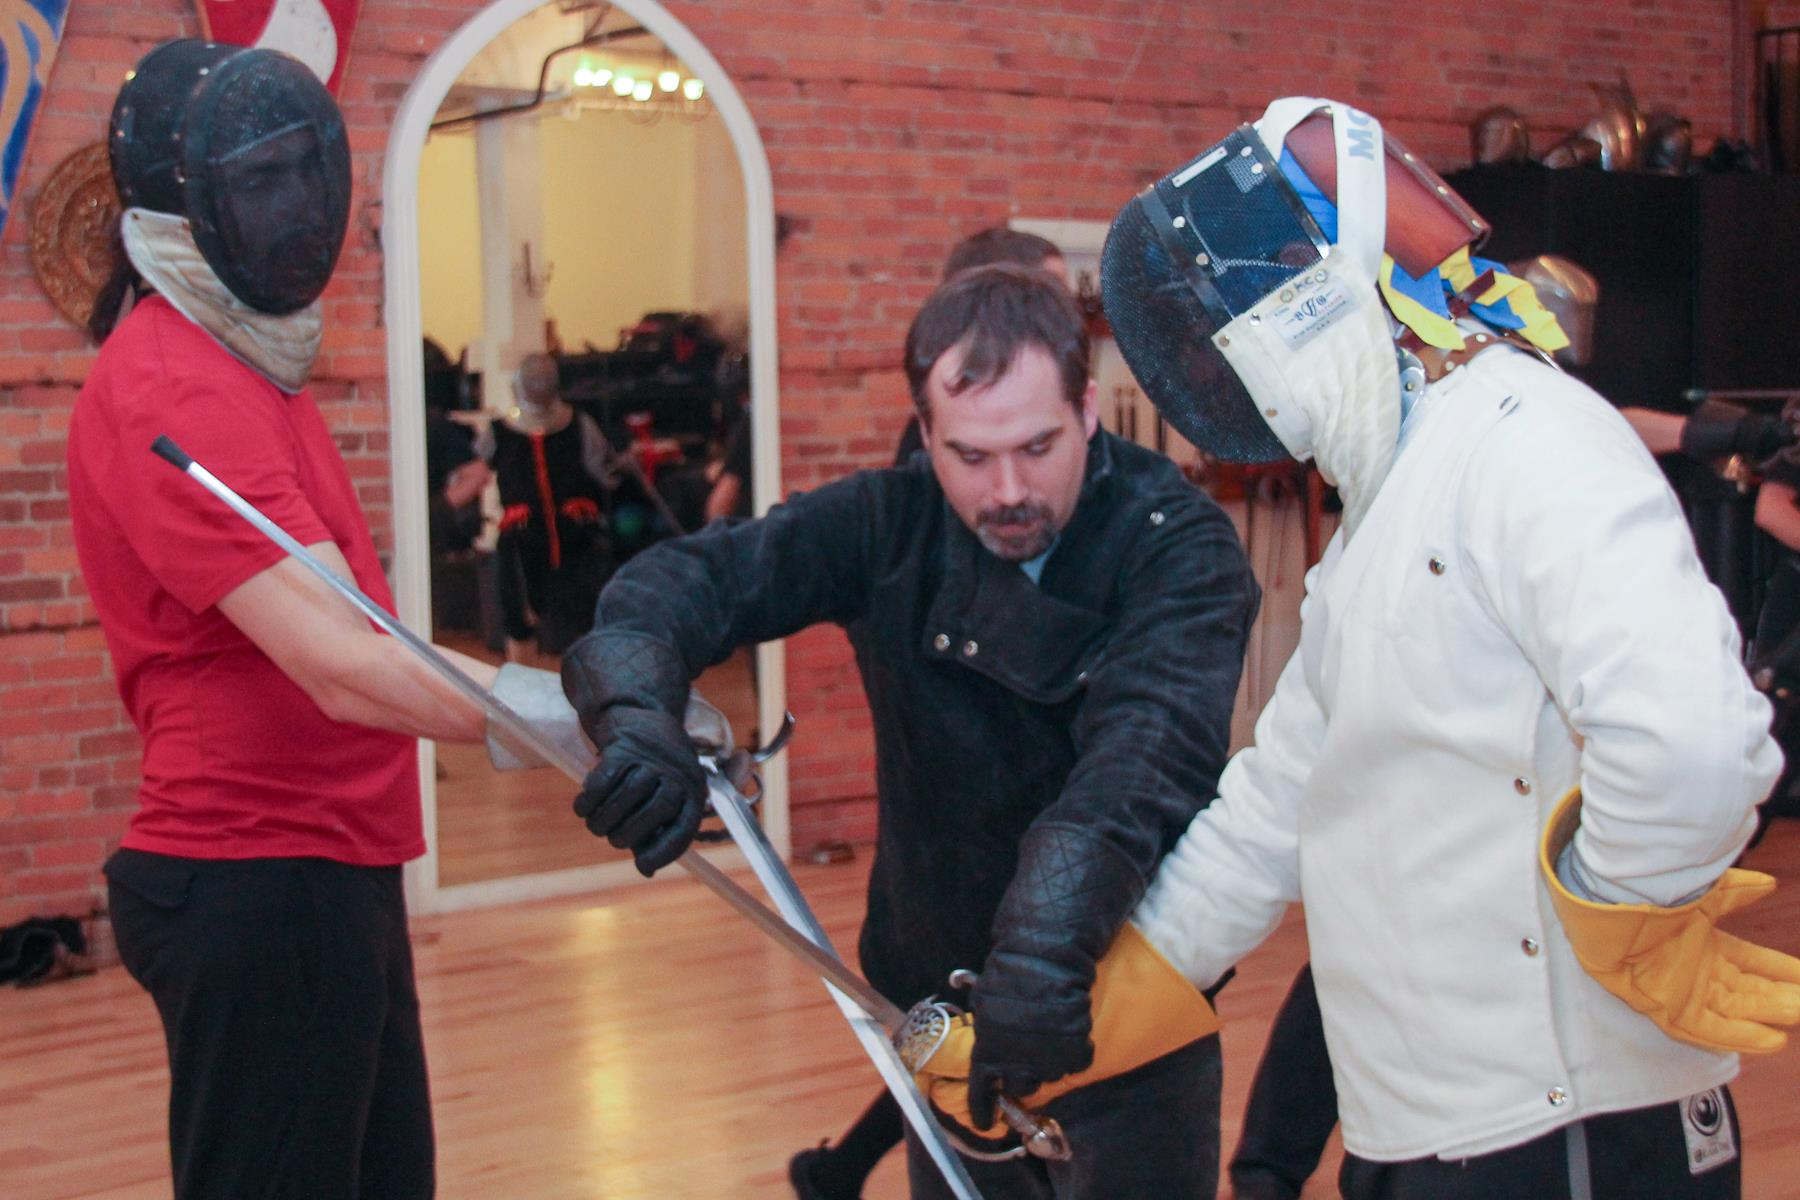
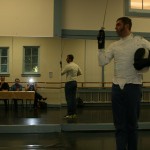
Teaching an Atajo
Offenses
- The Thrust – A single movement attack which pierces the adversary’s body to wound with the point. Thrusts may be linear or circular. Thrusts may glide in opposition along the opponent’s weapon or may be delivered without touching the steel.
- The Half Cut – A two movement attack that cuts the opponent’s body with the edge which is prepared and delivered from the right side.
- The Half Reverse – A two movement attack that cuts the opponent’s body with the edge which is prepared and delivered from the left side.
- The Circular Cut – A three movement attack that cuts the opponent’s body with the edge which is prepared on the left side and delivered from the right side.
- The Circular Reverse – A three movement attack that cuts the opponent’s body with the edge which is prepared on the right side and delivered from the left side.
General Techniques (Spirals)
- General Technique of Narrowing – From an atajo on the inside line at the Defensive Medio, carry the opposing steel in a half circle counterclockwise to the outside low line and terminate by stepping to the right to deliver a gliding thrust to the chest.
- General Technique of Weak under Strong – From an atajo on the outside line at Defensive Medio, carry the opposing steel in a half circle clockwise to the inside low line and terminate by stepping to the right to deliver a thrust by detachment to the chest.
- General Technique of Weak over Strong – From an atajo on the inside line at Defensive Medio, carry the opposing steel in a complete circle counterclockwise to the inside high line and terminate by stepping to the right to deliver a thrust by detachment to the chest.
- General Technique of Line in Cross – From an atajo on the outside line at Defensive Medio, carry the opposing steel in a complete circle clockwise to the outside high line and terminate by stepping to the right to deliver a gliding thrust to the chest.
Note: The Generals can be combined together in such a way that the end of one may form the beginning of another without breaking the spiraling motion. It is perhaps more useful to envision the Generals as spirals solely defined by the line in which they terminate to deliver the attack rather than whether they are a half or full circle. Spirals may be used with engagement to transport the opposing weapon or to collect it in space and carry it to a new line.
Changes of Strength
- Movement of Increase – Changing the degree of strength in the engagement to increase leverage along the opposing weapon.
- Movement of Decrease – Changing the degree of strength in the engagement to decrease leverage along the opposing weapon.
Bonus:
You also need to know two of the Medios.
- Defensive Medio – A place, distance, and context in which you are far enough away from the threat to effectively defend yourself but from which you can begin to develop offense.
- Offending Medio – The place, distance, and context of the ideal strike from which you deliver a wound while simultaneously defending yourself. The Offending Medio is the perfect outcome you seek.
Filed as Classical Fencing, Destreza (Spanish swordplay), Fencing, General, Historical Fencing with no replies
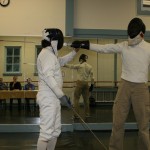
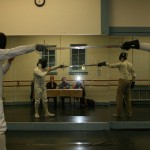
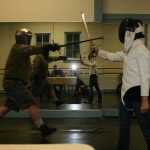
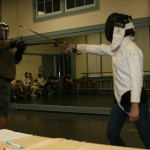
In July 2014 the Sacramento Sword School held its second student examination. The exam consisted solely of Scholar candidates, it was open to the public, and it was judged by a board of fencing masters with Dr. Mary Curtis acting as a special advisor to the board. In addition, this was the first time the Scholar’s examination was offered to a candidate from an external school and our we extend our fellowship and congratulations to the Elite Fencing Club in Mexico City for their candidate’s attendance and excellent performance.
To provide some context the Sacramento Sword School Scholar’s test is a La Verdadera Destreza examination derived from both the classical fencing examinations and material outlined in Don Luis Pacheco de Narvaez’s “Easy Method for examining Masters…” published in 1625. At the Scholar level the test is intended to qualify that a student has competence reflecting six months to one year of training and study. The process includes preparing and receiving feedback on a example lesson, an oral examination, the candidate receiving a lesson, and the candidate teaching a lesson. In addition, the board may ask to observe free fencing or for the candidate to teach specific fencing actions if time permits.
The Board of Examiners:
- Kevin Murakoshi (Master at Arms)
- Eric Myers (Master at Arms)
- R. E. “Puck” Curtis III (Master at Arms)
- Mary Dill Curtis (PhD – Golden Age Spanish Literature acting as an advisor)
Scholar candidates in alphabetical order:
- Evans, John
- Kalleen, John IV
- Pacheco Ancheyta, Jorge Luis
- Smith, Eric
- Smith, Olivia
- Welsch, Michael
- Minor (name withheld)
Each of these candidates passed the examination in good order with some performance occasionally reaching beyond Scholar level towards Freescholar level. The Sacramento Sword School is pleased to extend our endorsement of each of these candidates based on their performance during the examination.
A complete list of Scholars examined by the Sacramento Sword School alphabetically by year:
- Murphy, Dan (2013)
- Wright, Tyson (2013)
- Evans, John (2014)
- Kalleen, John IV (2014)
- Pacheco Ancheyta, Jorge Luis (2014)
- Smith, Eric (2014)
- Smith, Olivia (2014)
- Welsch, Michael (2014)
- Minor (name withheld) (2014)
-

-
Mr. Evans
-
-
Mr. Kalleen
-
-
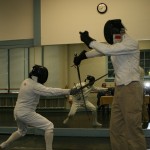
Mr. Pacheco Ancheyta examines the guard of Mr. Smith
-
-
Angulo Recto
-
-
Mr. Smith examines the guard of Mr. Pacheco Ancheyta
-
-
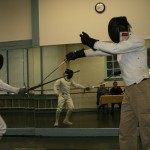
Atajo
-
-
Atajo, transversal, and thrust
-
-
Mr. Wright and Ms. Smith
-
-
Mr. Wright and Ms. Smith
-

-
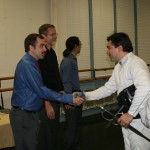
Mr. Smith and the Board
-
-
Mr. Pacheco Ancheyta and the Board
-

-
Group Photo